Preserving the Past: Thoughtful Care for Your Vintage Radio Collection

Preserving the Past: Thoughtful Care for Your Vintage Radio Collection
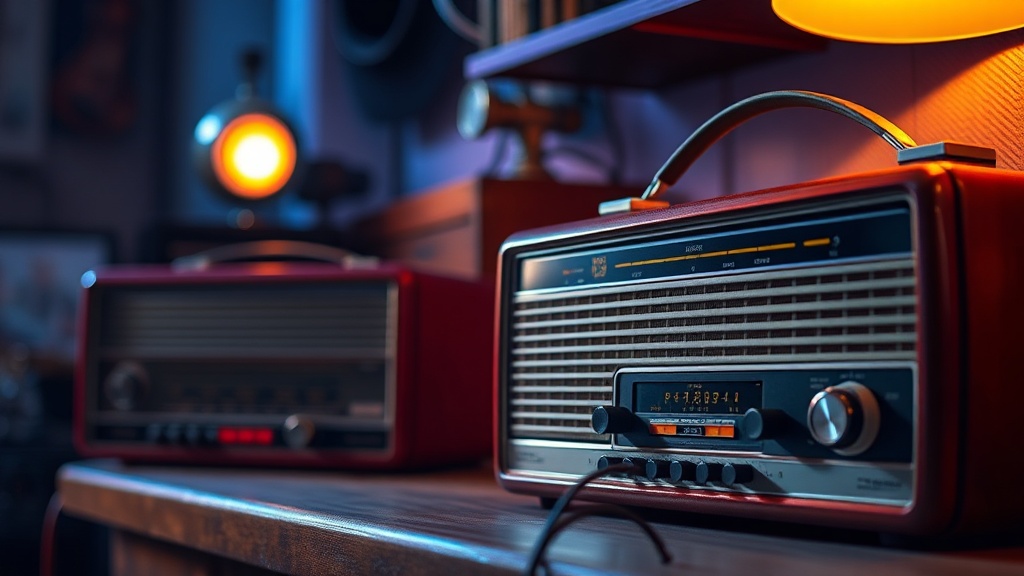
This article covers effective strategies for preserving your vintage radio collection, from careful cleaning and optimal display environments to routine checks that keep these historical pieces singing beautifully. Whether you’ve recently acquired a family heirloom or are a seasoned collector looking to refine your maintenance routine, understanding the nuances of vintage radio care helps extend their life and ensures their continued charm.
Vintage radios aren't just decorative objects; they're intricate machines, often a hundred years old or more, that require specific attention to thrive. Mishandling or improper maintenance can quickly degrade their condition, diminishing both their aesthetic appeal and their functional integrity. We'll explore techniques to keep cabinets gleaming, internal components safe, and overall performance at its best, all while emphasizing safety—a very important consideration when working with older electronics.
What's the best way to clean my vintage radio without causing damage?
Cleaning a vintage radio demands patience and the right approach, given the diverse — and often delicate — materials involved. You’ll frequently encounter wood, bakelite, plastic, and various metals, each with its own cleaning requirements. Start by gently dusting the entire unit with a soft brush or a microfiber cloth. This initial pass removes loose particles that could scratch surfaces during deeper cleaning.
For wooden cabinets, avoid harsh chemical cleaners or excessive moisture. A slightly damp cloth (dampened with water, not soaked) can remove surface grime. Follow up immediately with a dry cloth to prevent water damage. For a deeper clean, specialized furniture polishes designed for antique wood can bring back luster, but test any product on an inconspicuous area first. Some collectors prefer natural oils, like lemon oil, which nourish the wood and impart a pleasant scent, but again, moderation is key.
Bakelite and early plastics can be brittle and prone to scratching. Use mild, non-abrasive cleaners—dish soap diluted in water works well. Apply with a soft cloth, wipe gently, and dry thoroughly. For stubborn marks, a very small amount of automotive polish (the kind used for car paint) can sometimes work wonders, but exercise extreme caution. Never use abrasive pads or strong solvents, as these will permanently damage the surface.
Metal components, like speaker grilles, knobs, and trim, often show signs of tarnish or rust. Chrome can be polished with a chrome cleaner, while brass might benefit from a gentle brass polish. For painted metal surfaces, treat them as you would delicate plastic. Always ensure any cleaning product you introduce doesn't seep into the radio's interior, especially around the dial and delicate tuning mechanisms.
Cleaning the interior is a different matter. A can of compressed air can dislodge dust and cobwebs from inside the chassis. Use short bursts and keep the can upright to prevent propellant discharge. A soft artist’s brush can also help dislodge dust from circuit boards and component leads. However, it’s critically important to never touch components if you’re unsure of their function or safety. Many vintage radios contain capacitors that can hold a high-voltage charge even when unplugged, posing a serious shock hazard. If you're not experienced with electronics repair, simply dust the readily accessible areas and leave deeper internal cleaning to a qualified technician.
Where should I place my vintage radio for both aesthetics and preservation?
The display environment plays a huge part in a vintage radio's long-term health. Think of it as creating a mini-museum exhibit in your home. The primary enemies are direct sunlight, extreme temperatures, and fluctuating humidity.
Direct sunlight causes plastics to yellow, wood finishes to fade, and can even crack bakelite over time. It also generates heat, which isn't good for sensitive electronic components. Position your radio away from windows or invest in UV-filtering blinds if direct sun is unavoidable. Similarly, avoid placing radios directly next to heat sources like radiators, heating vents, or fireplaces. Consistent, moderate room temperature is ideal—think comfortable for you, comfortable for your radio.
Humidity is another silent killer. High humidity can encourage mold growth on cabinets, corrode metal components, and damage delicate paper-based capacitors or coils. Very low humidity can cause wood to shrink and crack. Aim for a stable indoor humidity level, generally between 40-60%. If your area has extreme fluctuations, a small room humidifier or dehumidifier can make a big difference for your collection.
Vibration can also be detrimental. Placing a radio on a wobbly table or near a constantly vibrating appliance (like an old washing machine) isn’t a good idea. Constant micro-vibrations can loosen connections, damage delicate tube filaments, or cause solder joints to fail over time. A sturdy, stable surface is always the best choice. If the radio is operational and you plan to listen to it, consider its placement for optimal sound. A solid, resonant surface can sometimes improve audio quality, while placing it in a corner can amplify bass.
For further reading on preserving historical artifacts and the environmental factors that affect them, organizations like the