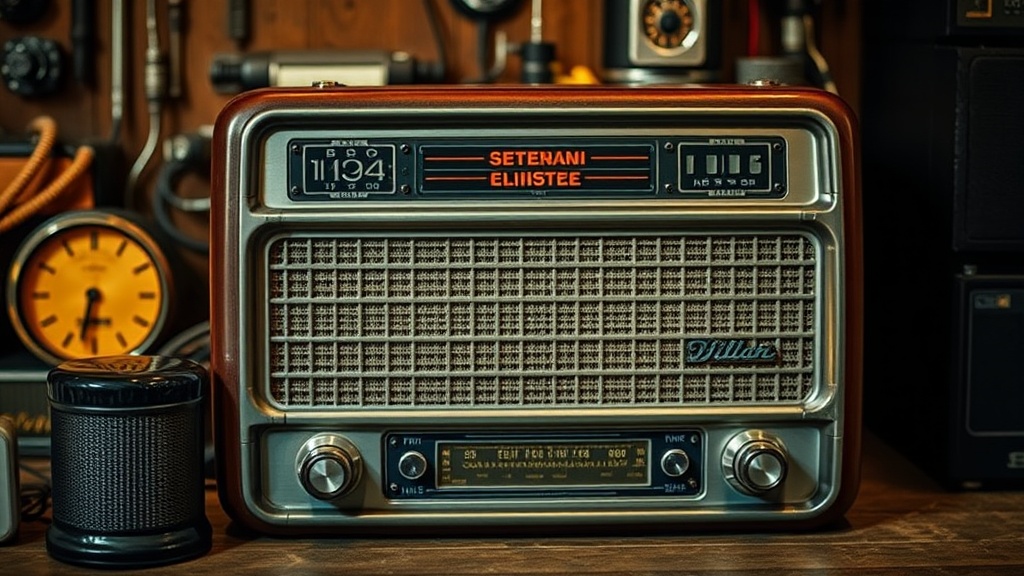
Finding Quality Components for Your Vintage Radio Restoration

What makes a vintage radio worth restoring?
Have you ever looked at a dusty, non-functional radio in an antique shop and wondered if the effort to bring it back to life is actually worth the investment? It's a common dilemma for collectors. You see a beautiful mahogany cabinet or a striking piece of Bakelite, but the internal components are a mess of brittle wires and dried-out capacitors. Understanding the value of the internal hardware is just as important as admiring the exterior. This guide covers the fundamental electronic components that dictate whether a radio is a museum-quality piece or a project that will ultimately cost more than it's worth.
Restoring a radio isn't just about making it play music again; it's about preserving a piece of technological history. When we talk about quality, we aren't just talking about whether the device works. We're talking about the caliber of the parts required to keep it running safely and sounding true to its original era. A radio with high-quality, period-correct components will have a much longer shelf life than one stuffed with cheap, modern-day substitutes that don't respect the original engineering.
What are the most important parts to replace?
If you're diving into a restoration, the first place you'll likely land is the capacitor bank. In the world of vintage electronics, capacitors—especially those made of paper or wax—are notorious for failing over time. They absorb moisture and leak-proofing fluids, which can lead to a short circuit. If you ignore these, you risk much more than a quiet radio; you risk blowing a transformer or, in extreme cases, causing a small fire. For serious collectors, the goal is to find high-quality film capacitors that fit the original footprint without compromising the look of the chassis.
Let's look at the common components you'll encounter during a teardown:
- Electrolytic Capacitors: These are the heavy hitters for power supply stability. If these are old, the radio might hum loudly or fail to turn on entirely.
- Resistors: Over decades, resistors can drift from their original values. If a resistor has increased in resistance, it changes the voltage levels throughout the circuit.
- Vacuum Tubes: These are the soul of the machine. A good set of tubes can make a massive difference in sound quality. You can find detailed technical specifications and tube data at sites like Tube Data to ensure you're getting the right match.
- The Transformer: This is the most expensive single part. If the power transformer is fried, the radio might be a lost cause unless you can find a replacement.
How do I know if a radio has high-quality internals?
A common mistake is assuming that a heavy radio is a high-quality radio. While weight often indicates better-built components (like iron-core transformers), it isn't a guarantee. To truly judge the internal quality, you need to look at the construction of the chassis. Is it a metal-framed chassis with high-quality solder points, or does it look like a cheap consumer-grade model from a budget manufacturer? High-end brands like Zenith or RCA often used higher-grade components that stand up better to a restoration.
One way to assess the internal state without even plugging it in is to look at the oxidation levels. If the copper traces on the circuit board (or the wiring on a point-to-point chassis) look incredibly corroded, you're looking at a heavy lifting job. On the other hand, if the components look clean and the wiring is neatly routed, you've found a much easier path to success. I always recommend checking the Radio Museum database to look up the specific model number. This lets you see what the original parts list should look like, so you aren't guessing if a part is missing or incorrect.
| Component Type | Typical Failure Sign | Restoration Difficulty |
|---|---|---|
| Paper Capacitor | Low volume or no sound | Moderate |
| Vacuum Tube | Microphonic noise or no glow | Easy (Plug & Play) |
| Power Transformer | Smell of burning or no power | Very High |
| Potentiometer | Crackling when turning volume | Low/Moderate |
The way a radio handles voltage is a delicate balance. If you replace a single part with an incorrect value, you might inadvertently stress another part of the circuit. For instance, using a resistor with a wattage that is too low can cause it to overheat and fail under load. It's a chain reaction. This is why I suggest keeping a detailed log of every change you make. If the radio starts behaving strangely after a part replacement, you'll want to know exactly what you touched and when.
Finally, don't overlook the importance of the speaker. A radio can have the most perfect circuit, but if the paper cone of the speaker is torn or the voice coil is damaged, it'll sound thin and hollow. Replacing a speaker with a modern driver often ruins the "vintage" feel of the audio, so try to find a period-correct replacement if possible. It's a bit more of a hunt, but the way a vintage speaker breathes life into the mid-range frequencies is something modern components struggle to replicate.